VMware 가상 머신 환경에서 Ansible을 사용해 Kubernetes 클러스터를 구성해보고, Helm을 이용해 kube-prometheus-stack을 배포하여 클러스터 모니터링 환경까지 함께 구성해보았습니다.
VMware 기반 Kubernetes 실습 환경 구성
실습 환경
- VMware: Workstation Pro 13.6.2
- Guest OS: Rocky Linux 9.3
- Host: ASUS Vivobook
| CPU | Memory | Disk | IP | |
| client | 1 Core | 2GB | 30GB | 172.16.0.200 |
| controlplane | 2 Core | 4GB | 30GB | 172.16.0.201 |
| node01 | 1 Core | 2GB | 30GB | 172.16.0.202 |
| node02 | 1 Core | 2GB | 30GB | 172.16.0.203 |
controlplane 노드는 초기에는 메모리를 2GB로 구성하였으나, 이후 kube-prometheus-stack 설치 과정에서 리소스 부족으로 인해 메모리를 4GB로 증설하였습니다.
네트워크 구성
각 가상 머신에는 NAT 네트워크와 Host-Only 네트워크 두 가지를 사용하였습니다.
- Host-Only: 가상 머신들이 외부 네트워크와는 분리된 상태에서
같은 VMware 환경 안에 있는 가상 머신들끼리만 통신할 수 있도록 하는 연결 방식 - NAT: 가상 머신이 호스트 PC를 통해 외부 네트워크에 접근할 수 있도록 하는 연결 방식
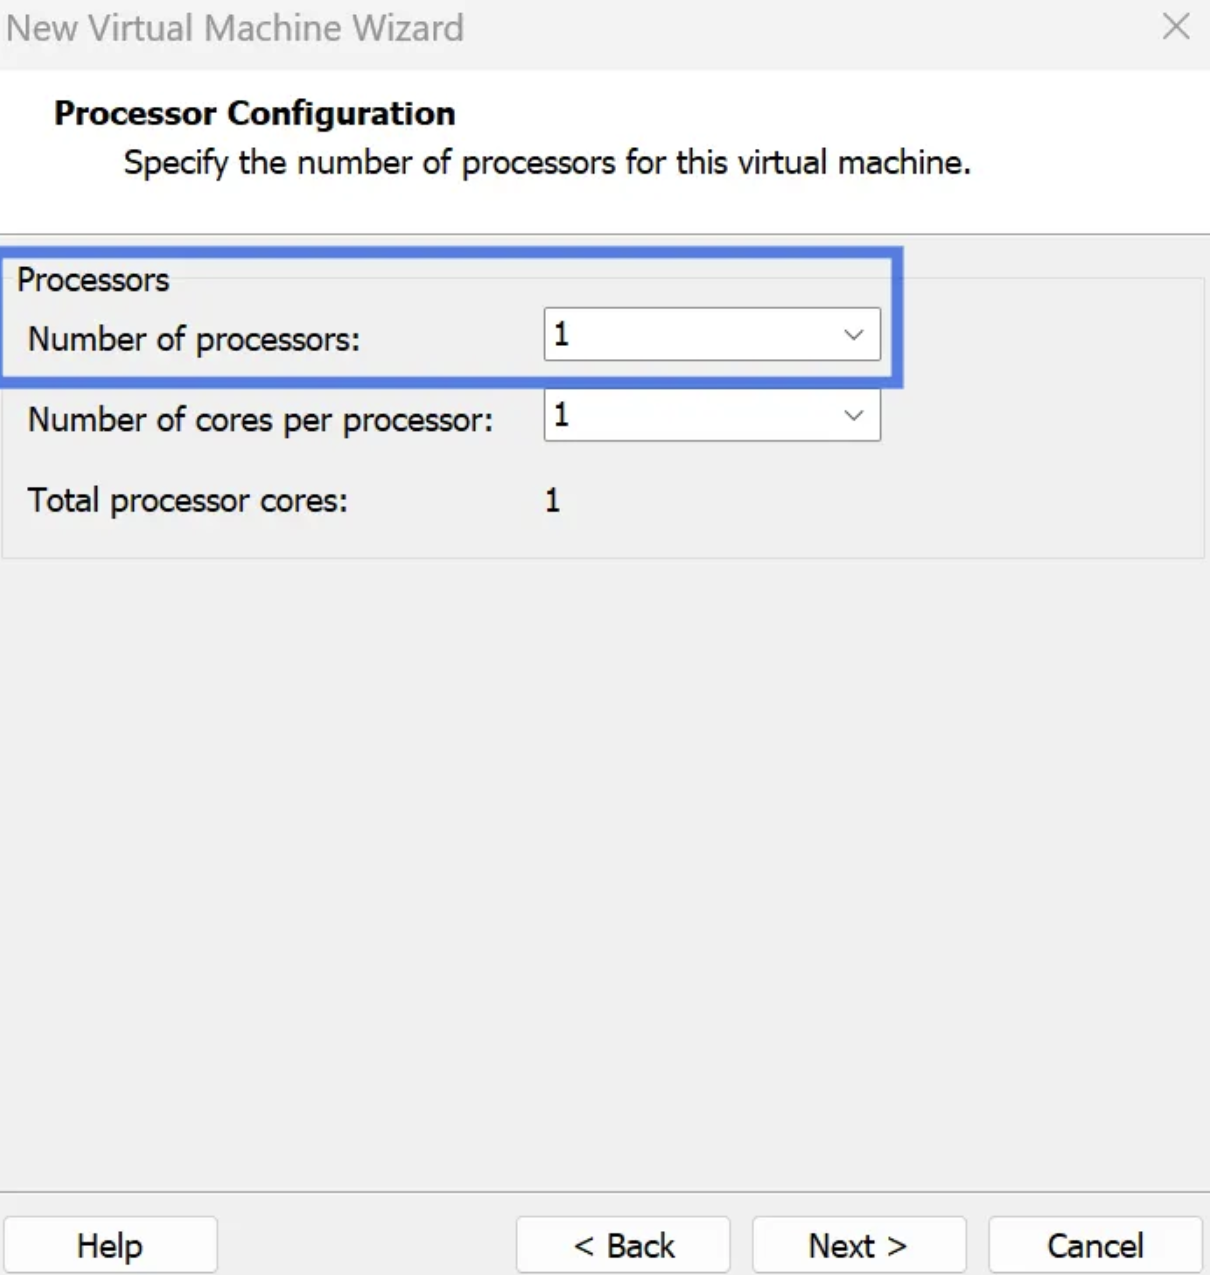
가상 머신 생성
File → New Virtual Machine 메뉴를 선택한 뒤 Rocky Linux ISO 파일을 사용하여 가상 머신을 생성하였습니다. (Rocky Linux ISO 파일 Download)


CPU, 메모리, 디스크 용량 등 세부 사양은 앞서 정리한 실습 환경 표에 맞게 설정하였습니다.


네트워크 어댑터 설정
앞서 기본으로 설정한 NAT 어댑터 외에 Host-Only 네트워크 어댑터를 추가하여, NAT와 Host-Only 네트워크를 모두 사용하도록 설정하였습니다.


Edit - Virtual Network Editor에서 Host-Only 네트워크의 서브넷을 아래와 같이 172.16.0.0/24 대역으로 설정하였습니다.

SSH 접근 설정
root 계정의 비밀번호를 설정하고, 이후 원격 접속을 위해 SSH 로그인이 가능하도록 설정하였습니다.

가상 머신 복제 (Clone)
여기까지 설정이 완료되면, client 가상 머신을 종료한 후 VM → Manage → Clone 메뉴를 통해 controlplane, node01, node02 가상 머신을 생성하였습니다. controlplane 노드는 Clone 이후 CPU 코어 수와 메모리 사양을 변경하였습니다.

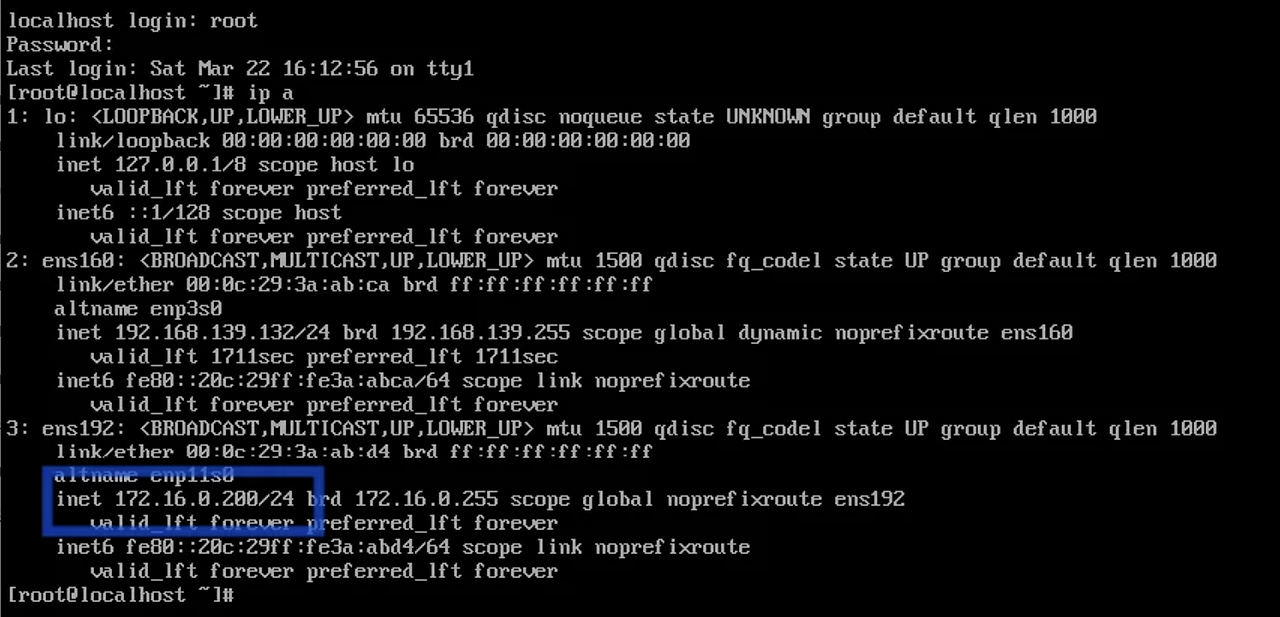
각 노드 IP 고정 설정
각 가상 머신에서 nmtui를 실행한 후, Edit a connection 메뉴에서 ens192 인터페이스를 선택하여 Host-Only 네트워크의 IP를 고정 설정하였습니다.
- client : 172.16.0.200/24
- controlplane : 172.16.0.201/24
- node01 : 172.16.0.202/24
- node02 : 172.16.0.203/24

가상 머신을 재부팅한 후, ip a 명령어를 통해 정상적으로 IP가 고정된 것을 확인하였습니다.
Hostname 설정
hostnamectl set-hostname client

ssh controlplane hostnamectl set-hostname controlplane

ssh node01 hostnamectl set-hostname node01

ssh node02  hostnamectl set-hostname node02
각 가상 머신은 Host-Only 네트워크로 연결되어 있으므로 서로 간 통신이 가능해야 합니다. 따라서 MobaXterm을 통해 client 가상 머신에 접속하여 게이트웨이와 각 노드로 ping 테스트를 수행하였습니다.

Ansible 설치 및 구성
아래 과정은 노드(client)에서 진행하였습니다.
Ansible 설치하기
dnf install epel-release -y
dnf install ansible -y
Git 저장소 clone
dnf install -y git
git clone -b k8s_init https://github.com/uvelyster/ansible-demo.git
Ansible 인벤토리
제 환경에서는 ens192 인터페이스를 사용하고 있어 , inventory 파일의 mgmt_nic 값을 ens192로 수정하였습니다. 인터페이스 이름은 ip a 명령어로 확인할 수 있습니다.
[controlplanes]
controlplane  mgmt_nic=ens192

[worker_nodes]
node01
node02

[cluster:children]
controlplanes
worker_nodes
ansible.cfg 설정
ansible.cfg 파일에서 remote_user를 root로 수정하였습니다.
[defaults]
inventory = ./inventory
remote_user = root  # root로 변경
ask_pass = false
roles_path = ./roles

[privilege_escalation]
become = true
become_method = sudo
become_user = root
become_ask_pass = false
SSH 키 기반 접근 설정
Ansible에서 비밀번호 없이 노드에 접속하기 위해 SSH 키를 생성하고, 생성한 공개키를 각 노드(controlplane, node01, node02)에 복사하였습니다.
ssh-keygen

ssh-copy-id controlplane
ssh-copy-id node01
ssh-copy-id node02
inventory에 등록된 모든 노드가 정상적으로 응답하는지 확인하였습니다.

Kubernetes 클러스터 구축
아래 과정은 노드(Control Plane, node01, node02)에서 진행하였습니다.
Swap 비활성화
swapoff -a
vi /etc/fstab   # swap 항목 주석 처리
free -m         # swap 비활성화 확인
모듈 설정
modprobe br_netfilter
modprobe overlay

# 모듈 확인
lsmod | grep br_netfilter

# 영구 설정
cat <<EOF > /etc/modules-load.d/k8s.conf
overlay
br_netfilter
EOF
sysctl 설정
cat <<EOF > /etc/sysctl.d/k8s.conf
net.bridge.bridge-nf-call-ip6tables = 1
net.bridge.bridge-nf-call-iptables = 1
net.ipv4.ip_forward = 1
EOF

sysctl --system
SELinux 설정
setenforce 0
sed -i s/SELINUX=enforcing/SELINUX=permissive/ /etc/selinux/config
Container Runtime 설치 (containerd)
yum install wget -y
wget https://download.docker.com/linux/centos/docker-ce.repo -O /etc/yum.repos.d/docker-ce.repo
yum install -y containerd.io

containerd config default > /etc/containerd/config.toml
sed -i 's/SystemdCgroup = false/SystemdCgroup = true/' /etc/containerd/config.toml

systemctl enable --now containerd
systemctl restart containerd
Kubernetes 저장소 추가
cat <<EOF | sudo tee /etc/yum.repos.d/kubernetes.repo
[kubernetes]
name=Kubernetes
baseurl=https://pkgs.k8s.io/core:/stable:/v1.30/rpm/
enabled=1
gpgcheck=1
gpgkey=https://pkgs.k8s.io/core:/stable:/v1.30/rpm/repodata/repomd.xml.key
exclude=kubelet kubeadm kubectl cri-tools kubernetes-cni
EOF
kubelet, kubeadm, kubectl 설치
yum install -y kubelet kubeadm kubectl --disableexcludes=kubernetes
systemctl enable kubelet && systemctl start kubelet

# 설치 확인
kubeadm version
kubectl version --client
kubelet --version
/etc/hosts 설정
노드 간 hostname 기반 통신이 가능하도록 /etc/hosts 파일에 각 노드의 IP와 호스트명을 등록하였습니다.
172.16.0.201 controlplane
172.16.0.202 node01
172.16.0.203 node02
Control Plane 초기화(Control plane에서 실행)
- kubeadm init 명령어 실행 후 출력되는 token과 discovery-token-ca-cert-hash 값은 이후 kubeadm join 명령어 실행 시 필요한 값이다.
- kubeadm init 명령어를 입력하면 일반 사용자와 root 사용자 별로 입력해야 하는 명령어를 실행해야 kubectl 사용이 가능하다.
kubeadm init --pod-network-cidr=192.168.0.0/16 --apiserver-advertise-address=172.16.0.201

# 일반 사용자인 경우
mkdir -p $HOME/.kube
sudo cp -i /etc/kubernetes/admin.conf $HOME/.kube/config
sudo chown $(id -u):$(id -g) $HOME/.kube/config

# 루트 사용자인 경우
export KUBECONFIG=/etc/kubernetes/admin.conf
참고로, Control Plane 노드를 재부팅하면 KUBECONFIG 환경 변수가 초기화되어 kubectl 명령어가 동작하지 않는 경우가 있는데 아래와 같이 KUBECONFIG 환경 변수를 .bashrc에 등록해두면 매번 설정할 필요 없이 kubectl을 사용할 수 있습니다.
echo 'export KUBECONFIG=/etc/kubernetes/admin.conf' >> /root/.bashrc
source /root/.bashrc
Calico 설치(Control Plane에서 실행)
kubectl create -f https://raw.githubusercontent.com/projectcalico/calico/v3.29.2/manifests/tigera-operator.yaml
kubectl create -f https://raw.githubusercontent.com/projectcalico/calico/v3.29.2/manifests/custom-resources.yaml
Worker Node join(node01, node02에서 실행)
kubeadm init 명령어 실행 시 출력된 token과 discovery-token-ca-cert-hash 값을 사용하여 worker node를 Kubernetes 클러스터에 join하였습니다.
kubeadm join <controlplane-ip>:6443 --token <token> \
--discovery-token-ca-cert-hash sha256:<hash>
⚠️ 저는 이 과정에서 join 명령어를 실행 후, 응답 없이 터미널이 대기 상태로 멈춰있는 문제가 발생하였습니다. 방화벽에서 API Server가 사용하는 6443 포트 접근이 차단되어 있는 것이 원인이었고, 해당 포트를 허용하여 해결하였습니다.
firewall-cmd --permanent --add-port=6443/tcp
firewall-cmd --reload
정상적으로 join 된 후, 모든 노드가 Ready 상태인 것을 확인하였습니다.

Helm 기반 모니터링 환경 구축
아래 과정은 노드(Control Plane)에서 진행하였습니다.
Helm 설치
dnf install -y tar
curl https://raw.githubusercontent.com/helm/helm/main/scripts/get-helm-3 | bash
Local Path Provisioner 설치
기본 StorageClass가 없는 k8s 환경에서 로컬 디스크 기반 PV를 사용하기 위해 Local Path Provisioner를 설치하였습니다. (참고 링크: https://github.com/rancher/local-path-provisioner)
kubectl apply -f https://raw.githubusercontent.com/rancher/local-path-provisioner/master/deploy/local-path-storage.yaml
kubectl patch storageclass local-path -p '{"metadata":{"annotations":{"storageclass.kubernetes.io/is-default-class":"true"}}}'
kube-prometheus-stack 설치
helm repo add prometheus-community https://prometheus-community.github.io/helm-charts
helm upgrade --install monitor prometheus-community/kube-prometheus-stack --create-namespace --namespace monitoring
monitoring 네임스페이스의 모든 Pod가 정상적으로 Running 상태인 것을 확인하였습니다.

NodePort 설정
Grafana 서비스는 아래와 같이 기본적으로 ClusterIP 타입으로 생성되어 있습니다. ClusterIP로 설정된 서비스는 클러스터 내부에서만 접근이 가능하며, 외부에서 접근이 불가능합니다. 따라서 NodePort 서비스로 바꿔줘 외부에서 Grafana에 접근할 수 있도록 해줬습니다.

# type을 ClusterIP에서 nodeport로 변경
kubectl edit svc -n monitoring monitor-grafana
Grafana 비밀번호 확인
kubectl get secret -n monitoring monitor-grafana \
  -o jsonpath="{.data.admin-password}" | base64 -d; echo
Grafana 접속
http://<노드IP>:<NodePort> 주소로 접속하여 Grafana 대시보드에 접근하였습니다.
- username: admin
- Password: 위 명령어 실행 결과로 출력된 값

'Kubernetes' 카테고리의 다른 글
| VMware Fusion에 k3s 멀티 노드 클러스터 구축하기 (0) | 2026.05.02 |
|---|---|
| 디플로이먼트(Deployment) 스케일링과 업데이트의 동작방식 (0) | 2026.04.05 |
| 쿠버네티스의 Pod와 Deployment에 관하여 (0) | 2026.04.03 |
| Kubernetes Service는 왜 필요할까? (0) | 2026.01.06 |
| EKS를 안전하게 운영하는 방법(feat. IAM 계정 분리와 Bastion 연동) (3) | 2025.12.21 |